Back
Tutorials
Mar 20, 2024
GPT Monetization revealed - Part 1 Authentication

Kevin Piacentini
People have been waiting for GPT monetization for a long time.
OpenAI announced a revenue-sharing model that may sound unfair to many creators and lead the ecosystem in a winner-take-all situation.
At Kobble, our mission is to help any creator monetize an API and, consequently, any custom GPT.
What are we building?
In this tutorial, we will create a custom GPT that generates multiple images based on a single prompt.
To do so, we'll leverage the following providers:
Dezgo text to image API
ImageKit storage API
Replit to store our API code (but you can store your API anywhere)
Kobble to authenticate our users and monetize them
Here's the video version of this tutorial for people who prefer watching over reading.
Overview of the API
For this tutorial, we created a straightforward API with only one endpoint.
This endpoint, named /image accepts POST requests that contain a body parameter named prompt and which is a string.
When we receive the prompt, we generate and persist 3 images with 3 different models.
Here the generateAndPersistImage function is just a wrapper that, as you can guess, generates an image using Dezgo and uploads it to ImageKit.
Here's the function that generates an image using Dezgo:
Here's the function that stores it on ImageKit:
The full code is available here on Replit.
Configuring Authentication with Kobble
Now we have a working API, we can create a Kobble project and connect it to our API.
Open your Kobble dashboard
Create a new project
Add your API URL
Then go to Authentication and activate the Auth method of your choice

Once configured, we'll need to create an OAuth application. Our GPT will use this application to authenticate our users.
Go to Applications and click New Application
Add a name and the logo of your choice
Save
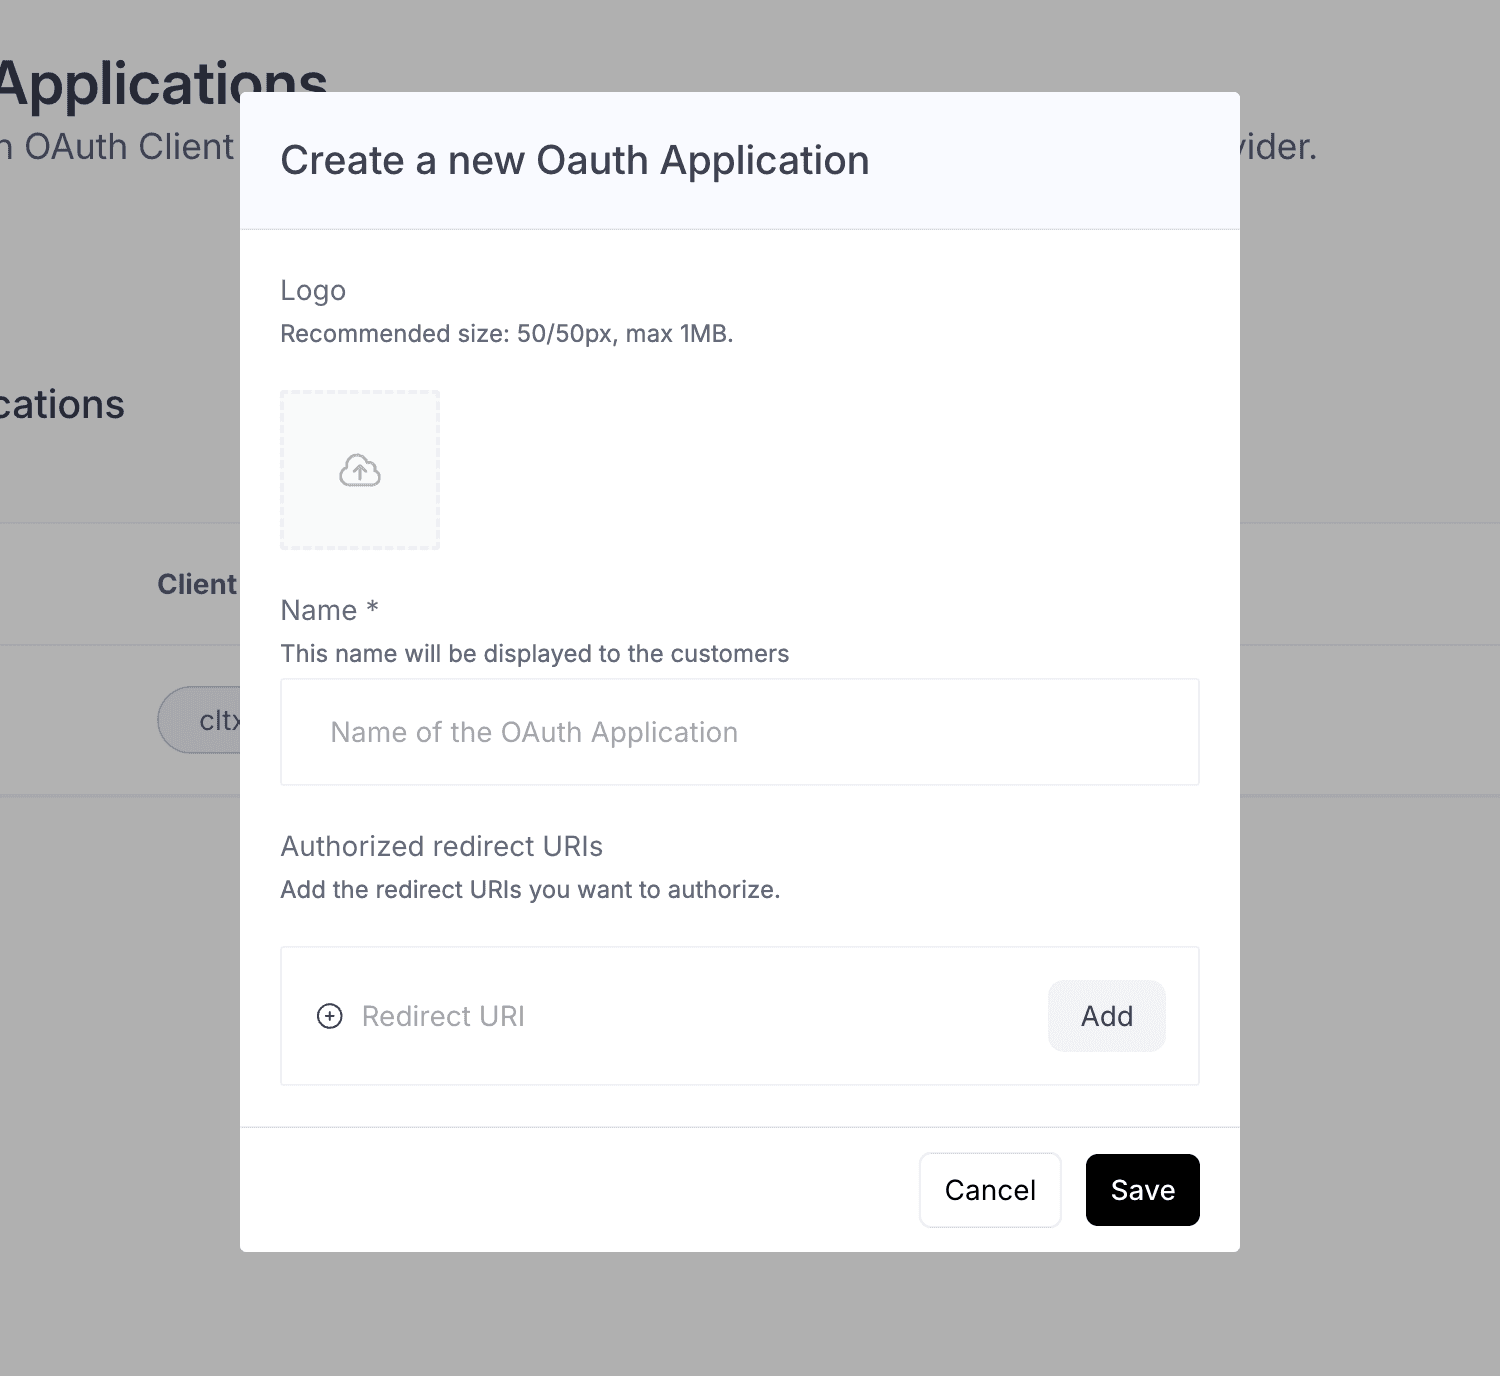
You will get redirected to your application, which will display the client ID, client secret, and other helpful information.
Setting up our GPT
Go to the GPT Store and click on Create
Fill in the form
Make sure to disable all capabilities (Browser, Code interpreter…)
Click on **Create new action** to link our API

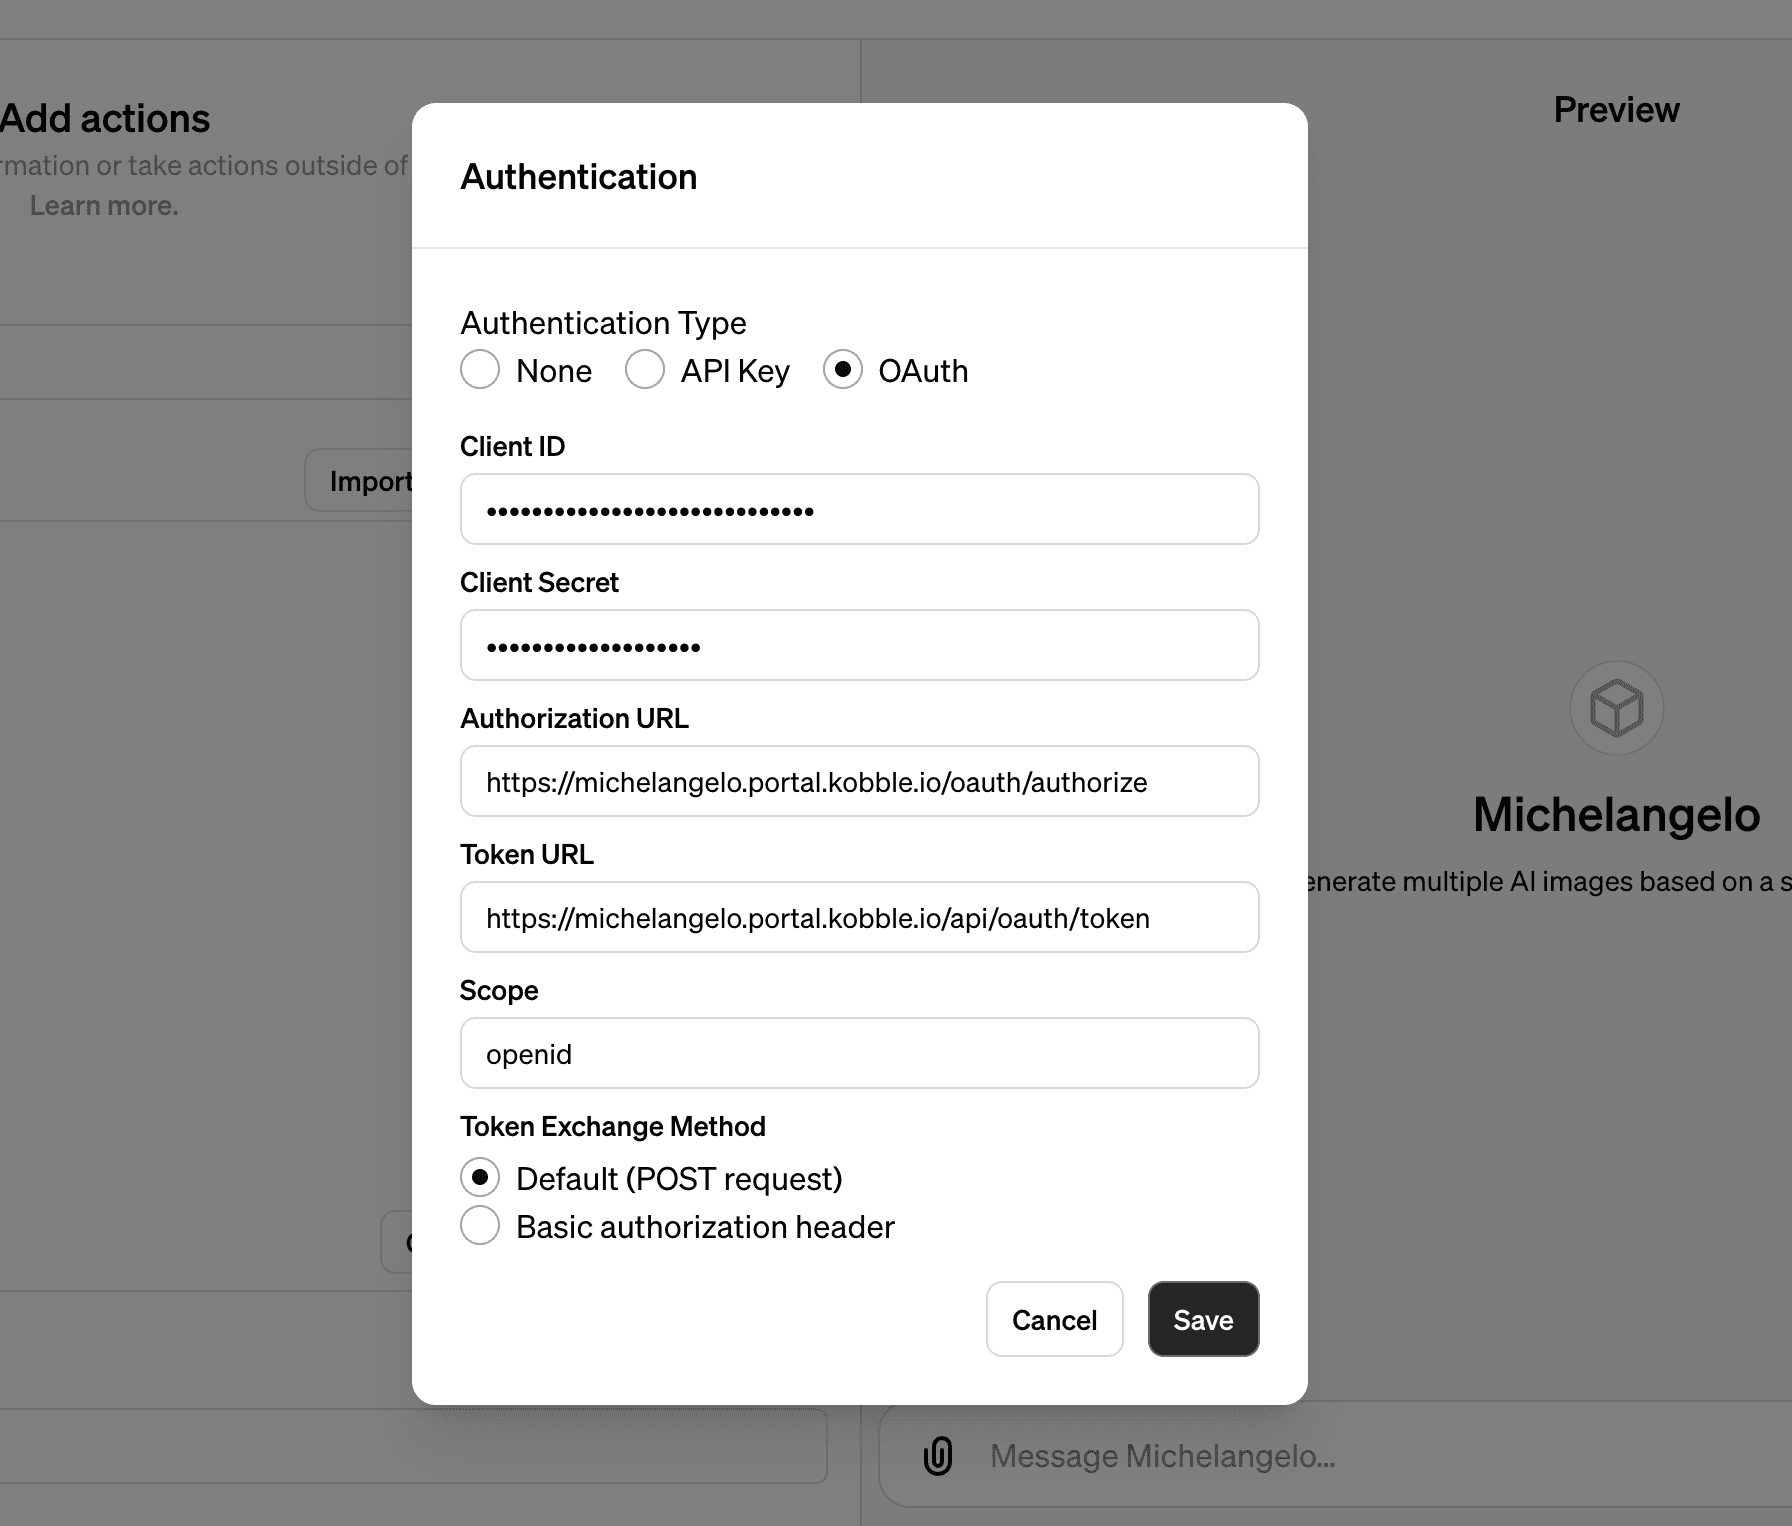
Since we want our users to be authenticated through OAuth, select the OAuth method and copy paste the following information from your Kobble Application previously created into your GPT:
Client ID
Client Secret
Authorization URL
Token URL
Scope
Then, click on save.
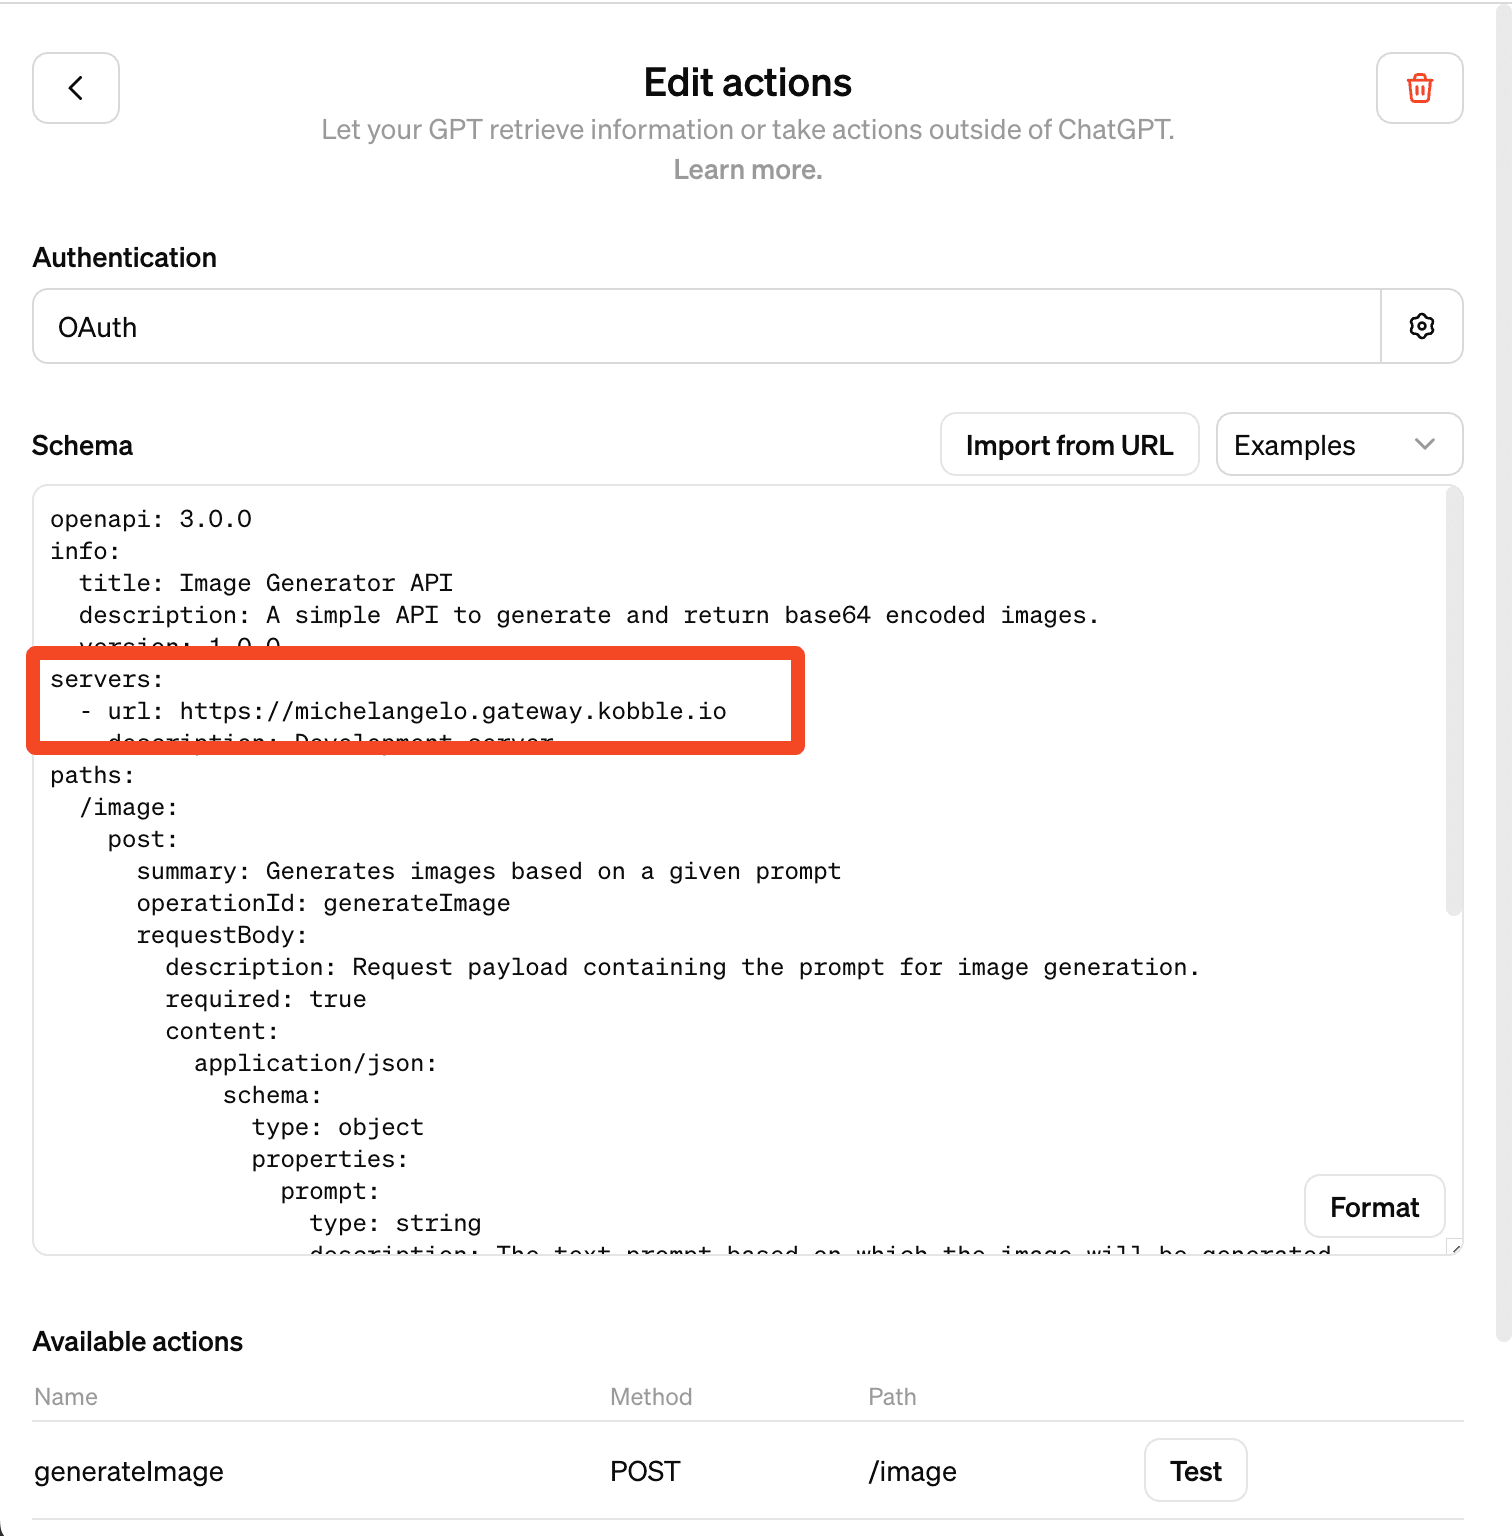
Let's add our OpenAPI specification file. This file will depend on your project.
You can copy the following specifications if you're using the API provided in our Replit.
The takeaway here is to make sure your server URL corresponds to the Kobble Gateway URL that you can find on your Kobble dashboard.
Now, if we go back and scroll down, we'll see OpenAI generated a Callback URI for our project.
Let's copy it and paste it into our Kobble Application.

Let's now save our GPT and ask it to generate some images.
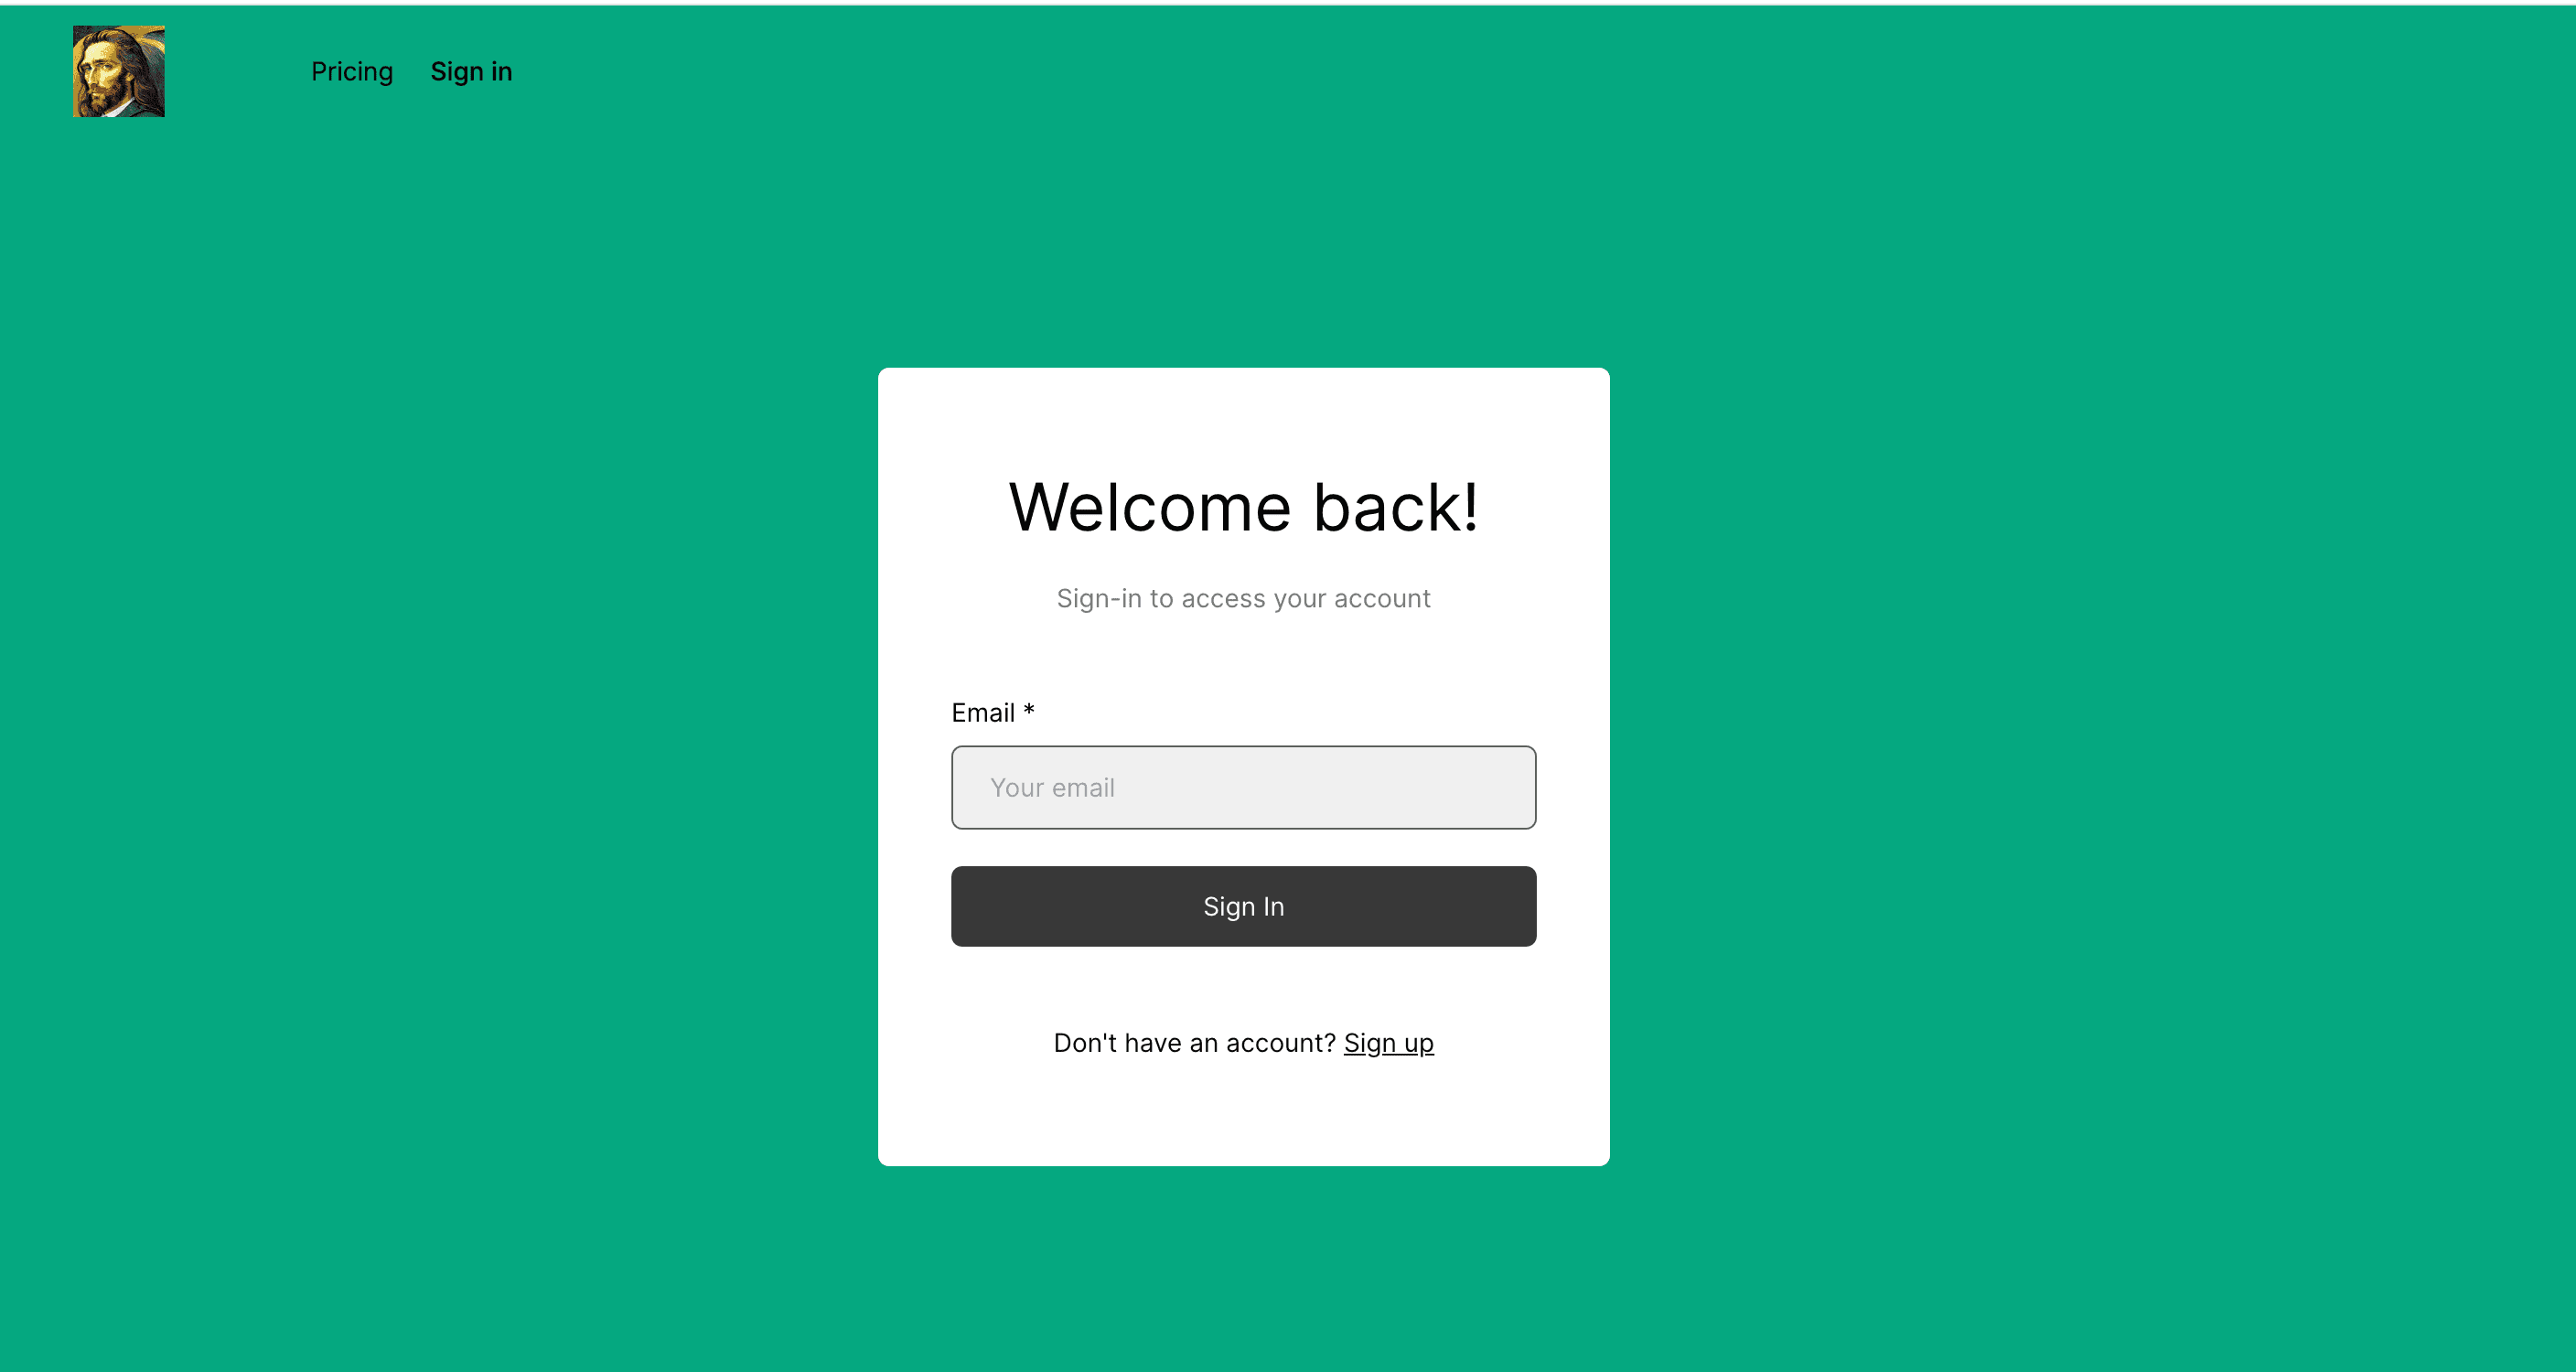
Since we configured the authentication using Kobble, our GPT asks the user to authenticate and redirects them to the Kobble authentication portal.

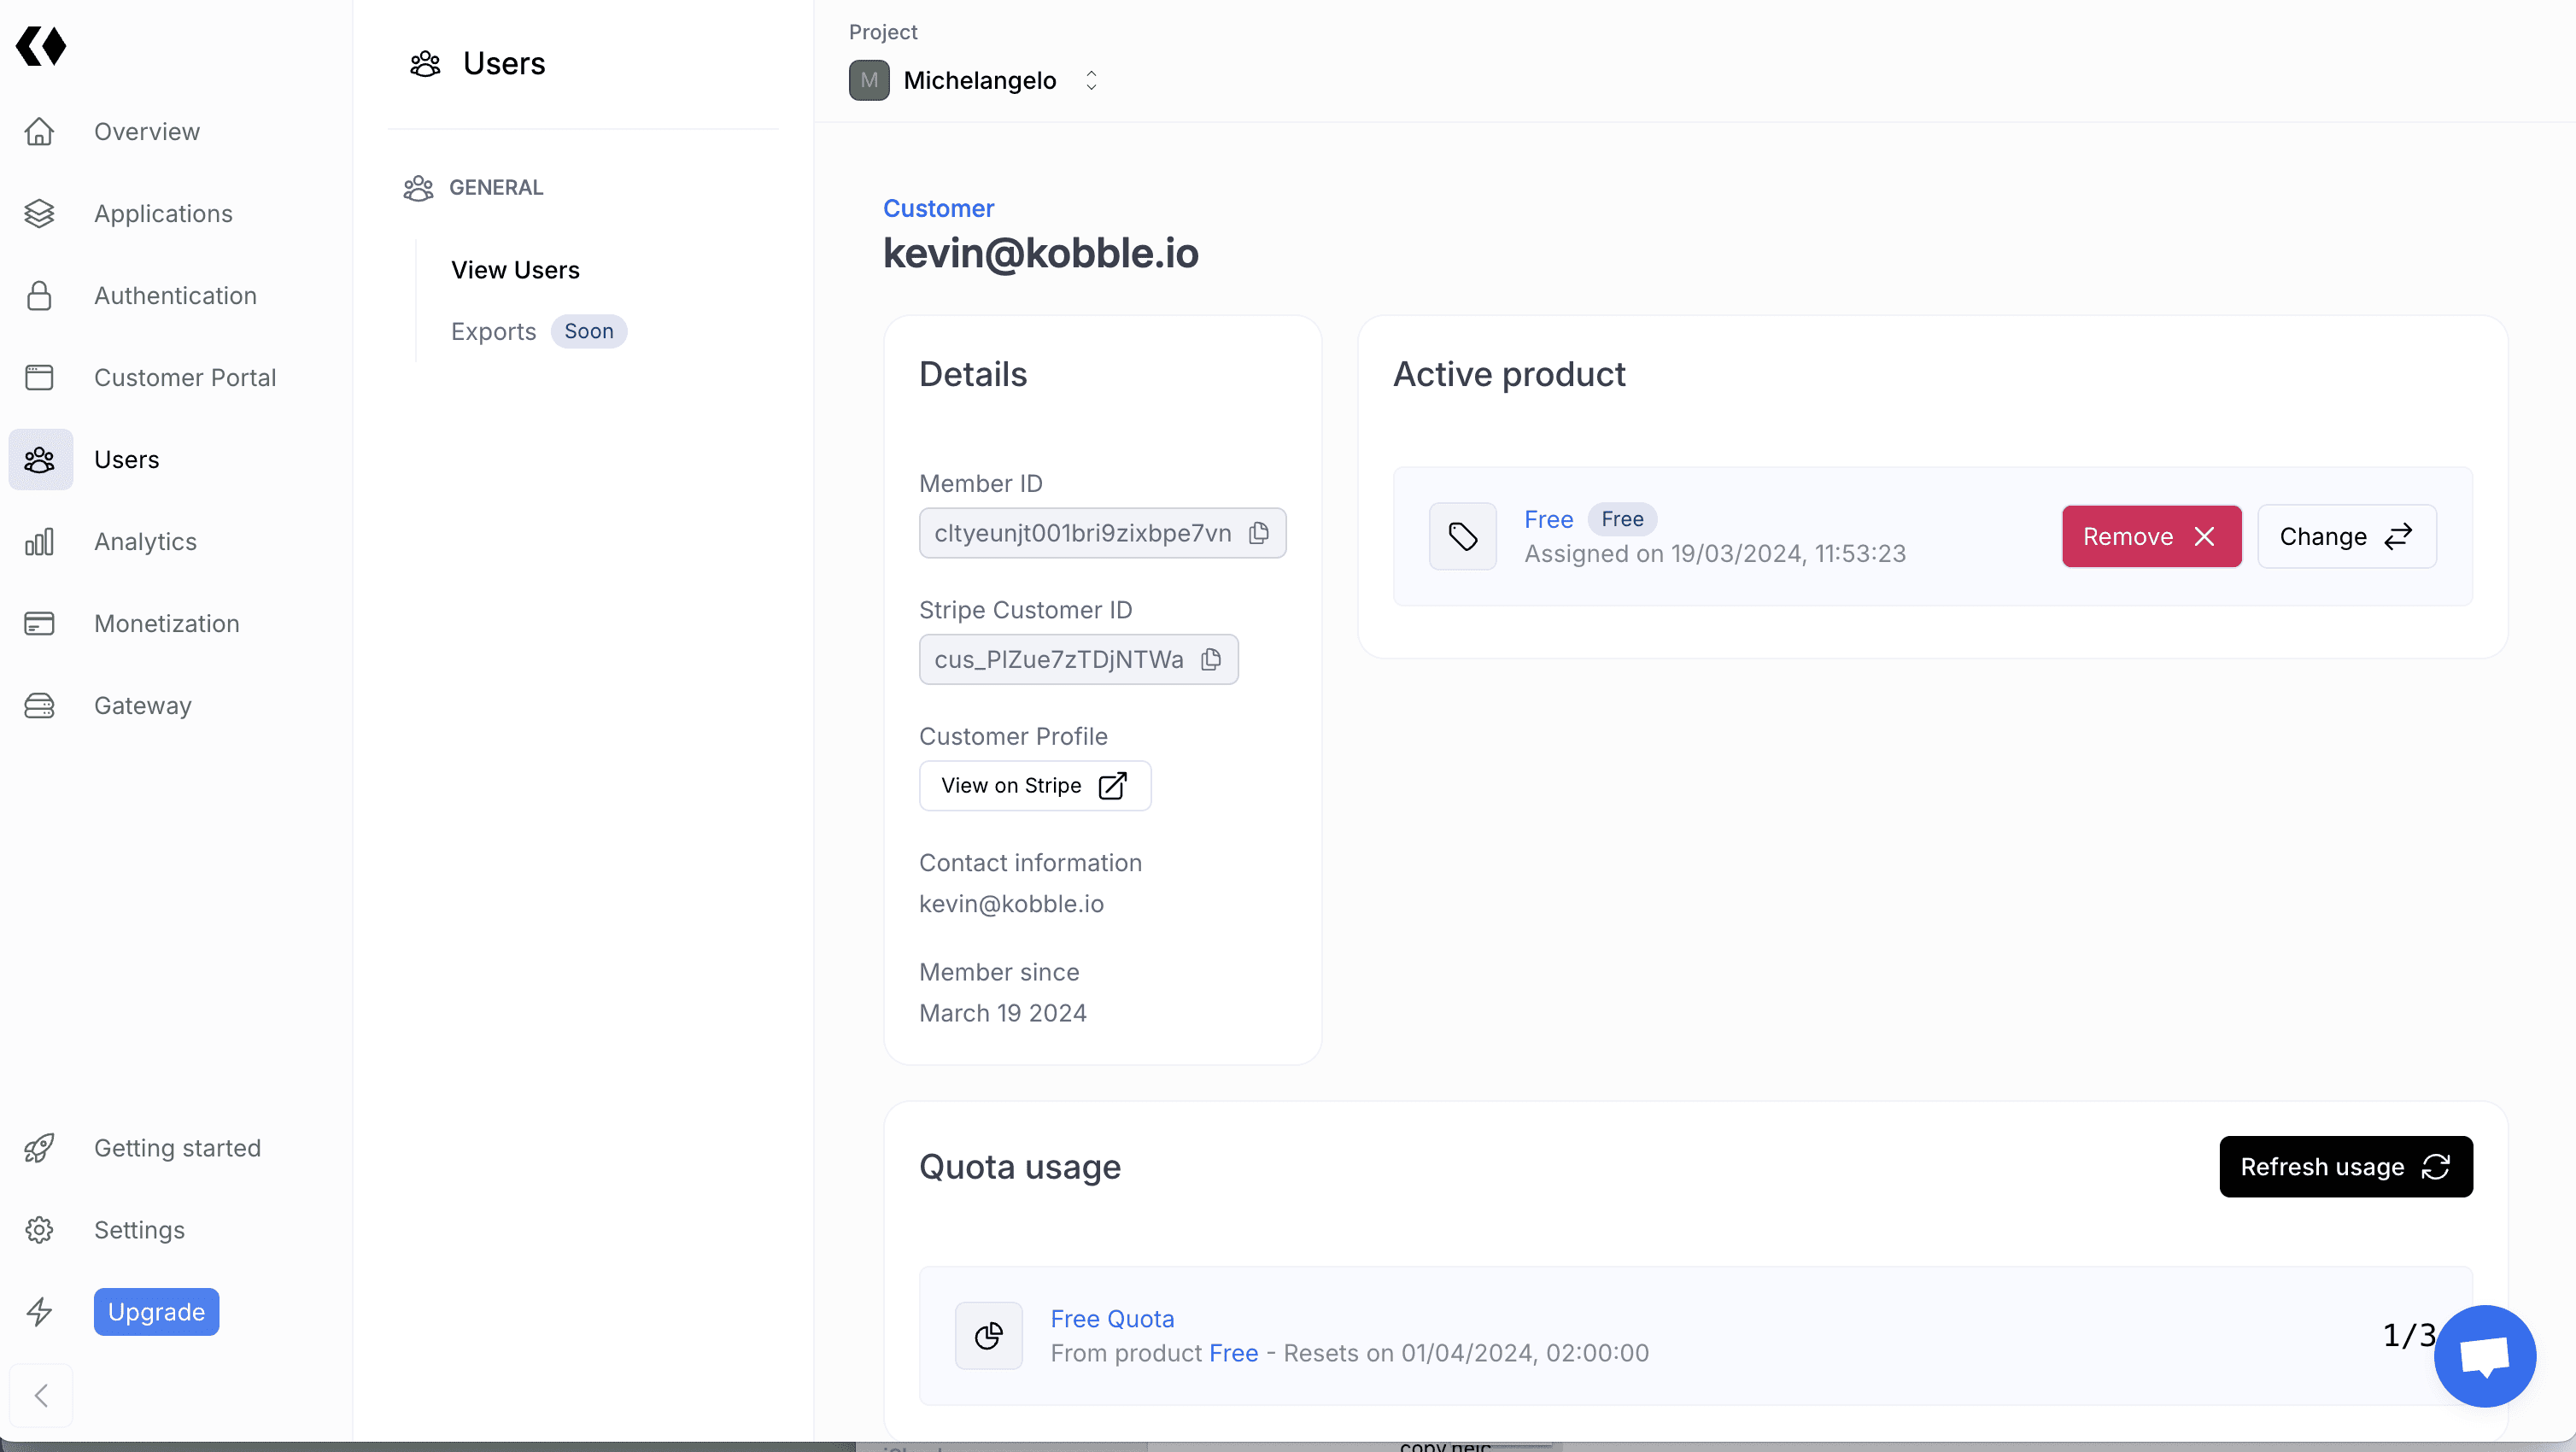
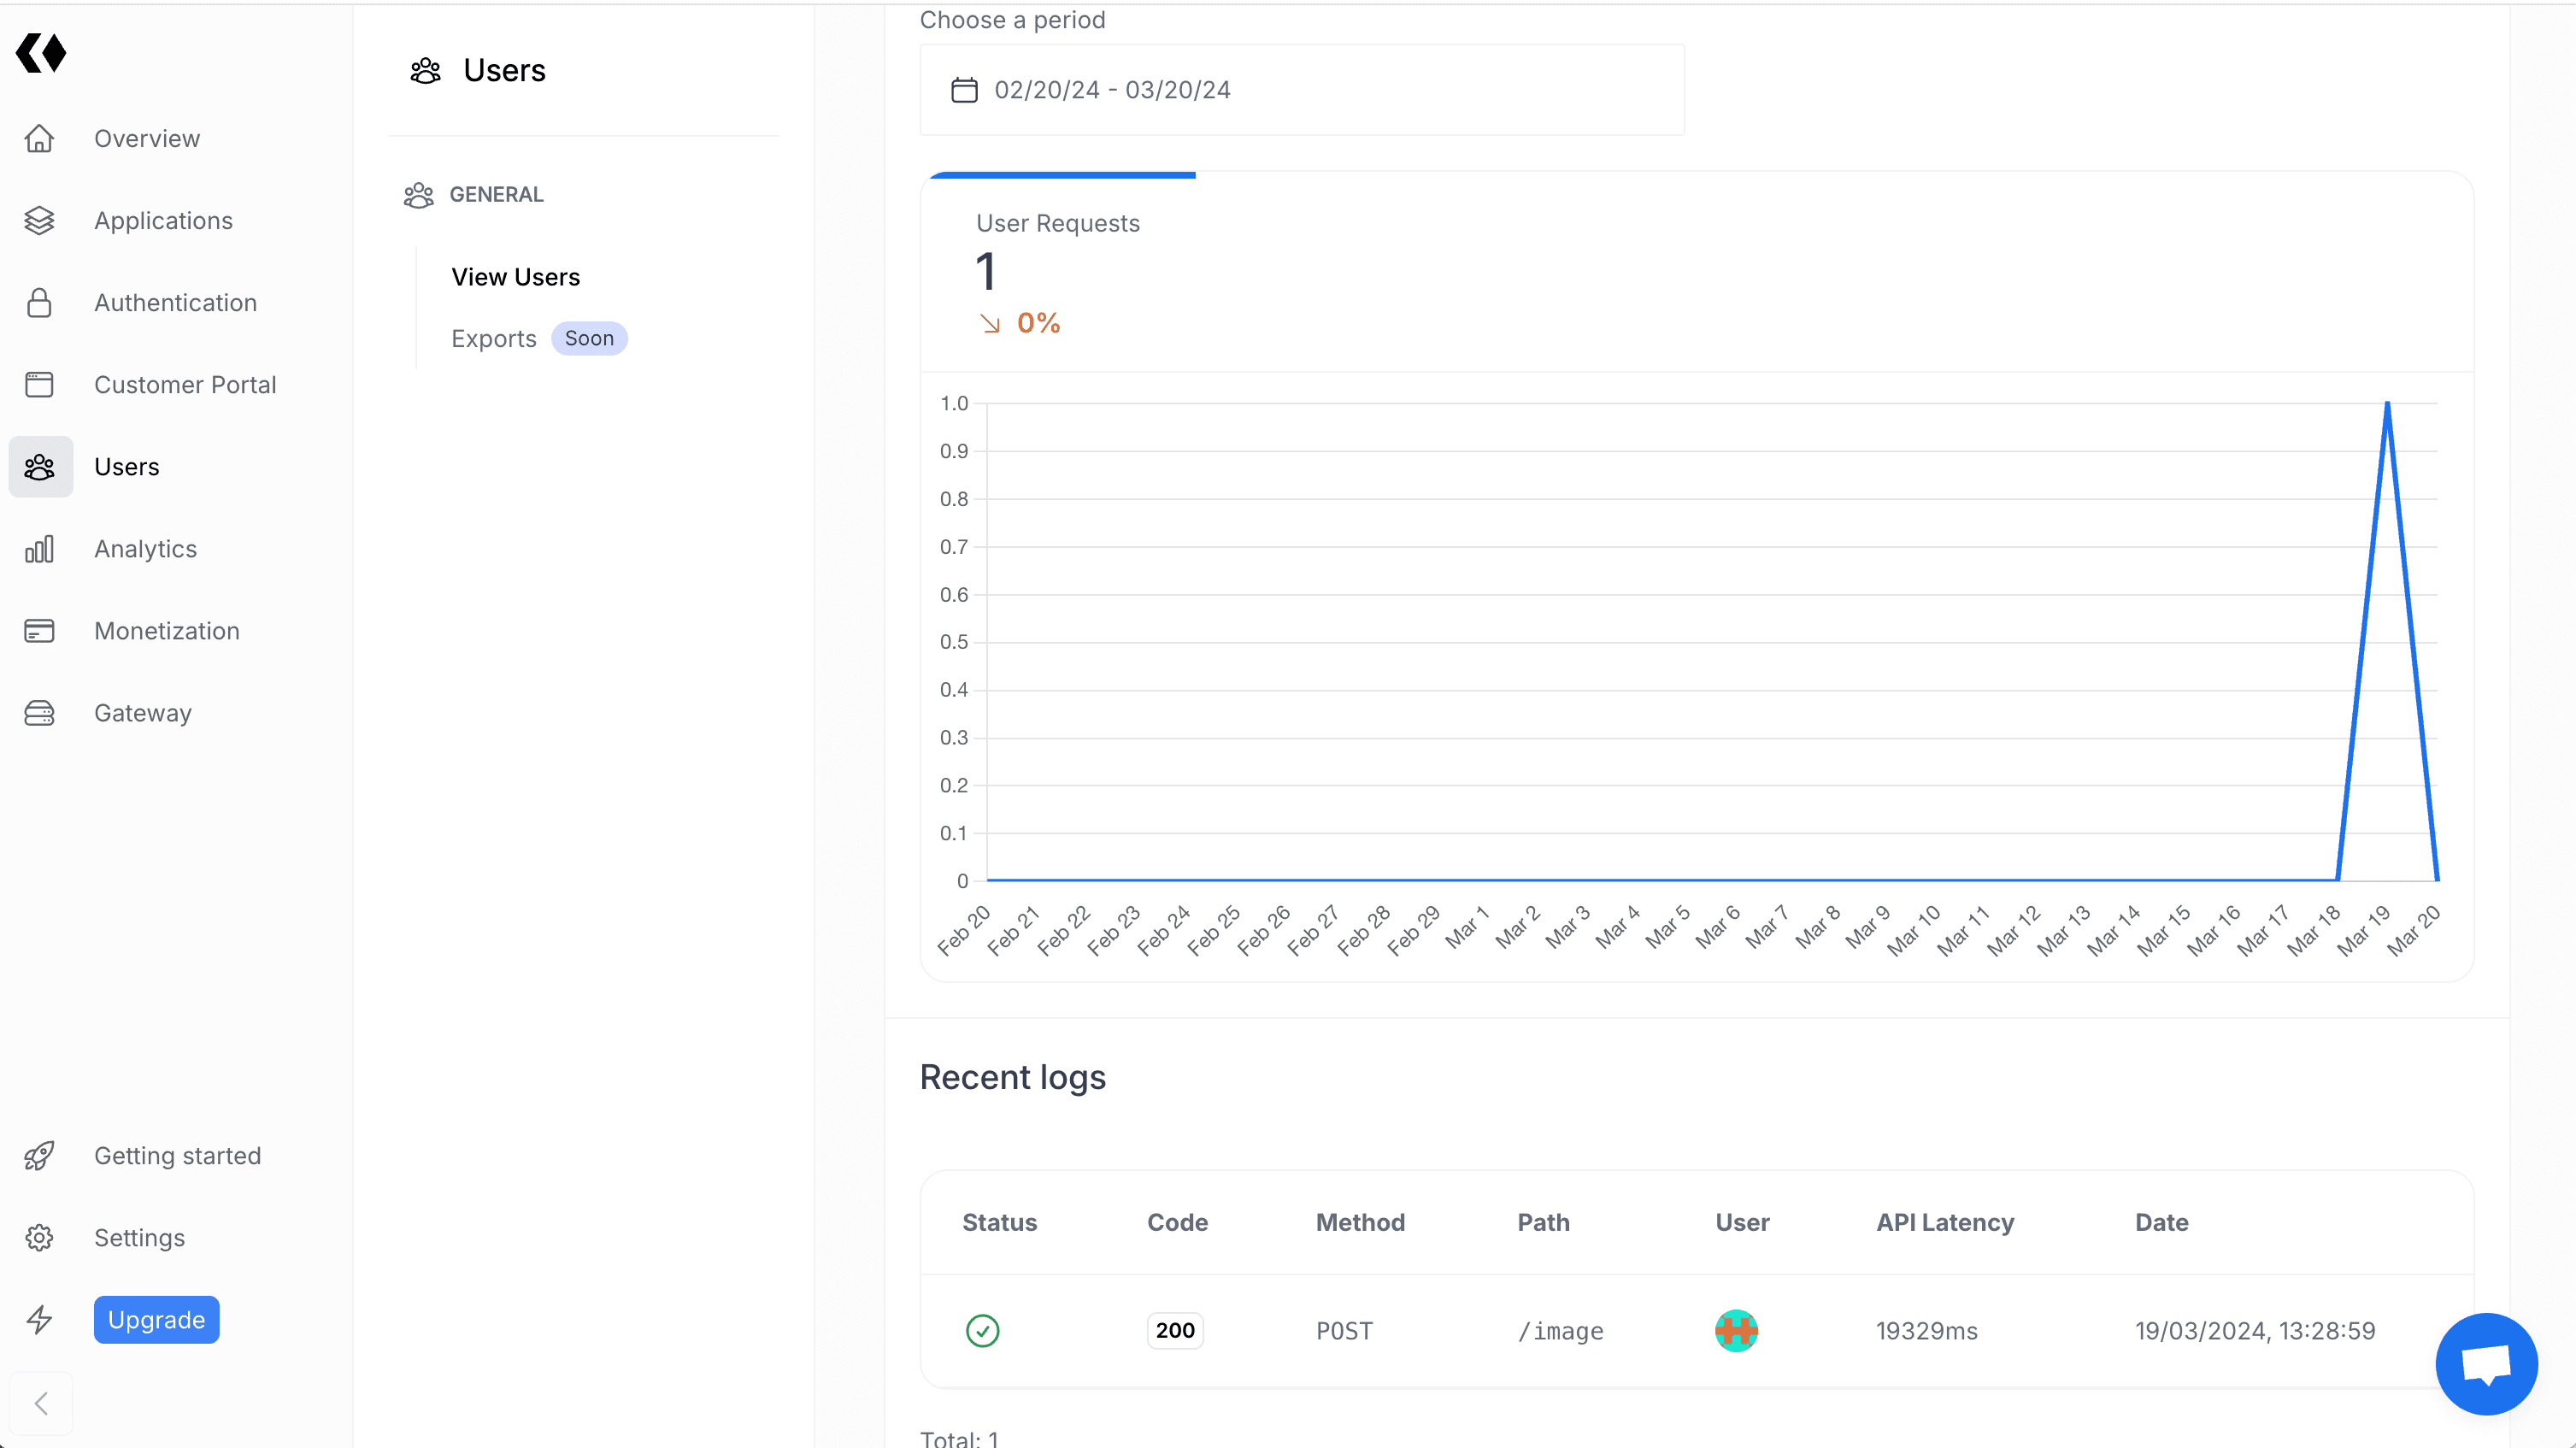
Every time a user signs up, they will be visible in our Kobble dashboard. Kobble will also record some useful analytics for us.
What's next?
What would be useful now is to be able to limit our users based on their plans.
For instance, having 3 requests per month allowed for our free members and having more requests for paid members.
Good news: that's exactly why Kobble was created, and we'll see that in the next article.

